Well, if something has recently made people bow then it is Instagram.
Just like in earlier days, when people catch up with a coffee, now they chat on Instagram. Instagram is a social media network that strongly emphasizes sharing images and videos and building connections through its mobile application.
It has formed a world that surrounds people to know the latest updates of their followers and connections. In addition, you can follow your preferred politicians or celebrities to view behind-the-scenes pictures of their daily lives.
And if you don’t want to miss important updates of your ‘connected’ ones' lives that are mostly likely to be on Instagram then better suggested to ace your game to learn this social media network.
Here are some pro-to-advance tips, basic steps and a detailed guide to help you learn how to use Instagram.
How To Use Instagram Platform?
At first, there may be a lot of questions after downloading Instagram but we have divided your learning into a few simple steps, so keep your phone in hand and just do as the guide says:
-
How to create an Instagram account?
-
Types of content you post on Instagram
-
Navigating the features of the Instagram app
How To Create An Instagram Account?
If your phone is on hand and you are ready to take a ride to the world of ‘scrolling’ then here are detailed steps on how to create an Instagram account. Finalising these steps may give a cool look and feel to your Instagram feed.
Here's how to sign up for an Instagram account in just five easy steps:
Step 1: Download the app on mobile
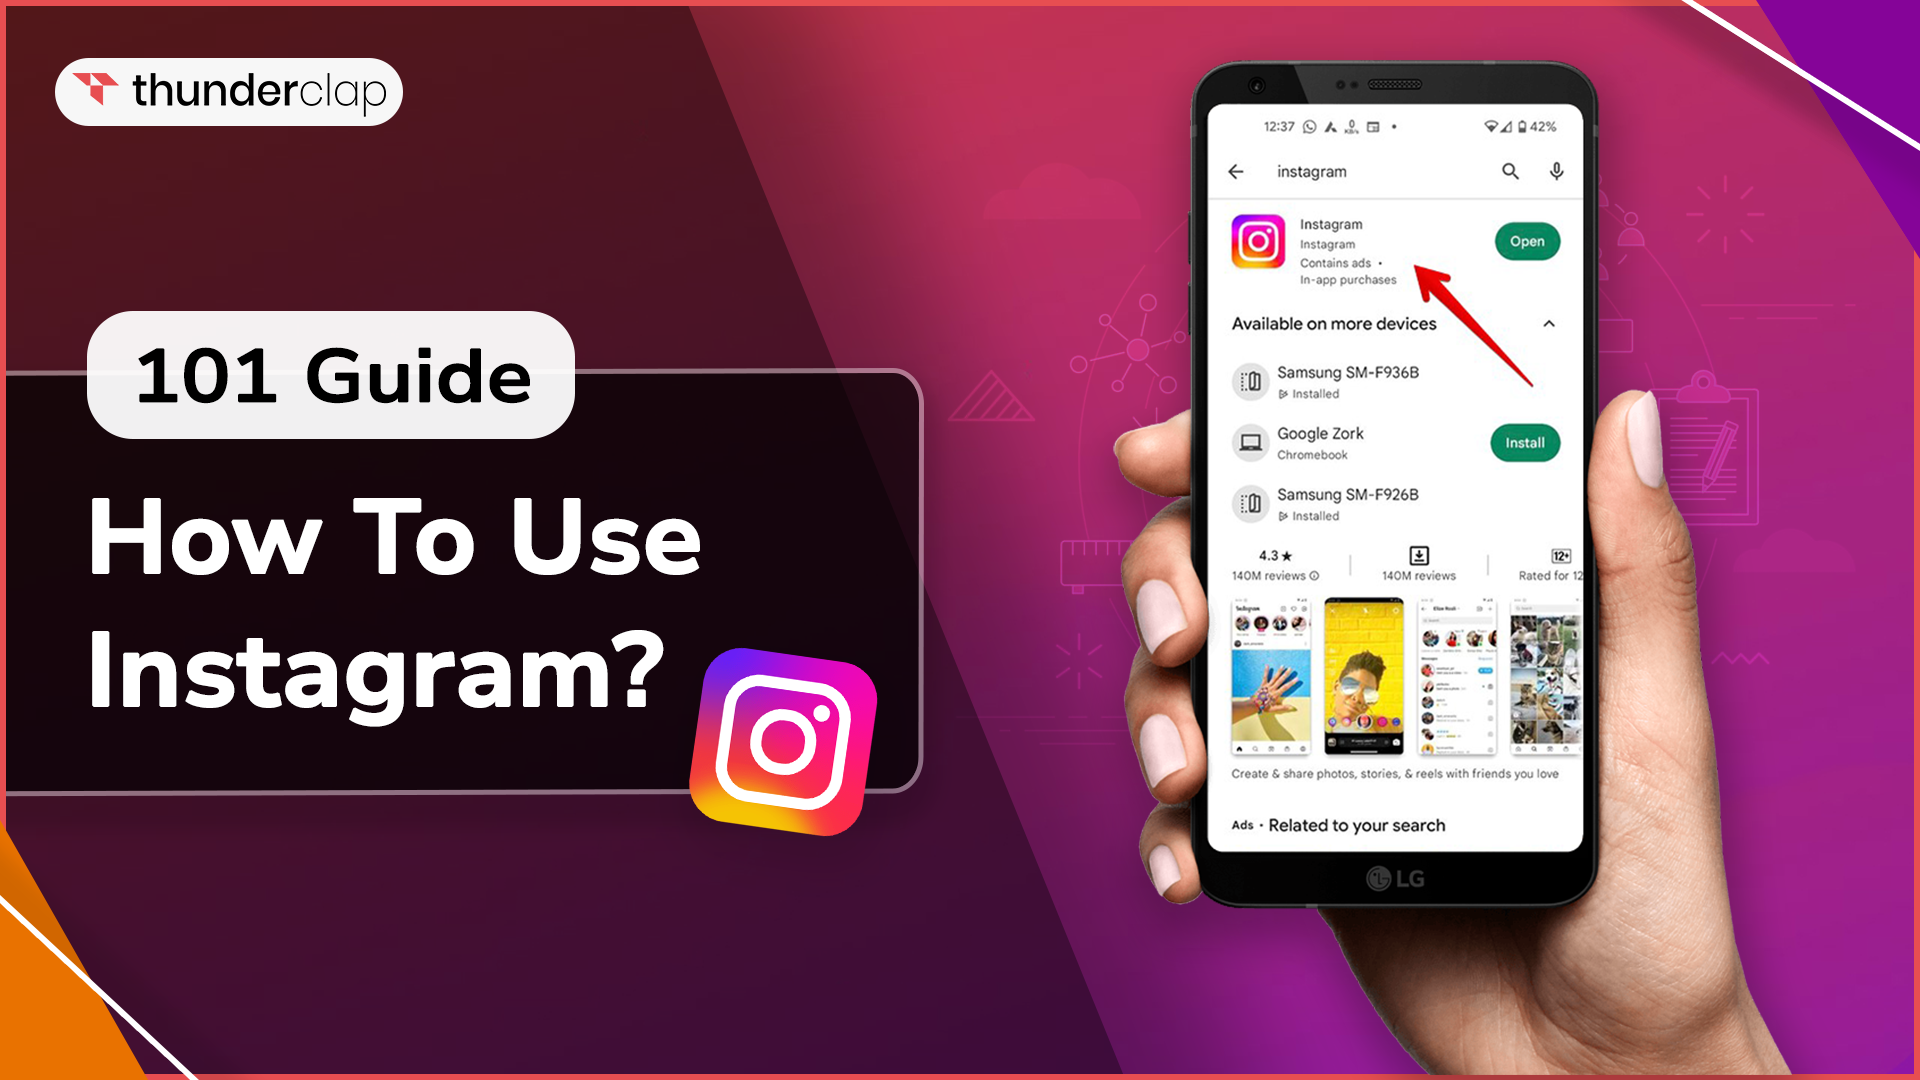
You can download Instagram on your Android or iOS machine from the Google Play Store or the App Store, accordingly. In the search field, type "Instagram," look for the Instagram’s logo, then select "Download."
To register on a PC, visit this Instagram page and begin inputting your information.
Step 2: Make a username and create an account
You will see the login screen as soon as you launch the app. The "Create new account" button will be at the bottom of your screen. Click it to start a new account.
Instagram will require you to:
-
Enter your name or business name if you are creating a business account.
-
Ask to create a Password
-
Date of Birth
-
User Name
-
Enter verification code
-
Accept its rules and regulations
Hurrah! Your sign-up for Instagram is done.
Step 3: Set up your profile picture, bio, and links
In the two steps above, your Instagram account is created. However, you must set up your profile in the following ways to make sure that your target audience finds you:
Upload or edit profile pictures
-
To access your profile, tap your image in the upper left corner.
-
Hit "Edit Profile."
-
Tap "Edit profile image."
-
"Click "Upload Photo," then choose the image you want to upload.
Bio
Bio is the first impression that appears beneath your profile picture. A bio can be a phrase, a motto or a thought about life. This lets the other users decide whether to follow you or not. But for that create an engaging Instagram bio of a 150-character limit.
To access your profile, click the photo of yourself on the right.
-
Click the text box next to "Bio" after selecting "Edit Profile" at the top of the screen.
-
Compose your bio.
-
Tap "Submit" to store your modifications.
Links
Instagram gives brands and businesses access to integrate their websites, and Lintree links for people to become aware of their products and services. Through this brands also enhance their visibility and engagement by adding links on their Instagram page.
Let’s learn how to add links:
-
Tap the profile symbol or photo in the bottom right to access your profile.
-
Select "Edit Profile" located at the upper part of the screen.
-
To add the URL for your website, tap "Links" and then "Add external link."
-
Press "Done." By first pressing the link and then selecting "Remove Link," you can quickly delete a link.
-
You can save your changes by tapping "Done" after tapping "Back" (<).
Utilize the website and bio areas to provide prospective clients with further information about your brand if you intend to use an Instagram account for business.
Step 4: Select the type of Instagram account
An account type defines what kind of Instagram page you want to own. This could either be extremely private or public. Let’s explore further to see the differences:
-
Personal Instagram Account: If you only use Instagram to stay in touch with your friends & family, this is the best kind of account for you. Because your profile is closed, someone must ask to follow you to view your posts. In notifications, you have the option to approve or reject follow-up requests.
-
Business or Professional Instagram Account: The best solution for all businesses is an Instagram business account. These accounts are rewarded with extra call-to-action buttons (CTA) such as "Shop Now" to encourage consumers to purchase.
-
Creator account: This is the best choice for those who are content creators on Instagram. Even while this profile type lacks the additional CTA button, it still has elements like a label name beneath your display name that is supposed to assist you in creating a community.
Your Instagram profile is private by default. To change the type of account you have:
-
Select the three horizontal lines in your profile's upper right corner.
-
Choose "Settings and Privacy," then "Account type and tools" by swiping down.
-
Selecting "Switch to a professional account" is an option.
-
When you tap it, you'll be prompted to select a category, such as writer, entrepreneur, or shopping & retail. Lastly, you have the option of selecting a business or creator account.
Step 5: Customize the notification system
Instagram sends you numerous notifications, including when someone follows you, likes one of your photos, tags you, and more.
You can manage Instagram Notifications by navigating to your profile's settings to change the alerts you receive. Select "Notifications" to personalize the alerts you want to receive and those you don't. You can also put all notifications on temporary hold or put all notifications on hold for 12 hours by using the "quiet mode."
The distinction is that message recipients will be aware that you have turned off all alerts when they message you because of your online status. If enabled, auto-replies will indicate this. Nobody knows if you've momentarily stopped receiving notifications outside of quiet mode.
Types Of Content You Post On Instagram
Instagram is a social networking platform that offers various post formats. You can post videos, single images, carousel photos, go live, and post content only available for a day. Let's examine the type of Instagram posts:
1. Single-image post
A single-image post content on Instagram is when you upload just one picture and a caption. The ideal uses for these postings are showcasing client testimonials, sharing announcements, reposting Tweets or Threads, and product photos.
To post a single image post, follow the below steps:
-
Step 1: Click the home page's plus symbol.
-
Step 2: Next, select the 'Post' option from the available options.
-
Step 3: Choose any image from your gallery.
-
Step 4: Click on Next in the right corner.
-
Step 5: Then, you can select any filter choice from the list at the bottom.
-
Step 6: Once again, select 'Next' in the right corner.
-
Step 7: You can write the caption, add location, tag people in your post, add music, etc. Then select the "Share" button.
Your single post image will be shared on your Instagram account.
2. Carousel-image post
Several photos are presented at once in carousel posts. You can publish up to 10 slides of these kinds of photos on Instagram. The best postings tell a story, educate your audience, highlight a topic, or present a before-and-after comparison.
To post a carousel-image post, follow the below steps:
-
Step 1: Click the home page's plus symbol.
-
Step 2: Next, select the 'Post' option from the available options.
-
Step 3: To select multiple images for a post, click on the multiple fold icon below the post window or press the picture longer. It will show you the option.
-
Step 4: Click on Next in the right corner.
-
Step 5: Then, you can select any filter from the list at the bottom for every image.
-
Step 6: Once again, select 'Next' in the right corner.
-
Step 7: You can write the caption, add location, tag people in your post, add music, etc. Then select the "Share" button.
3. Reels
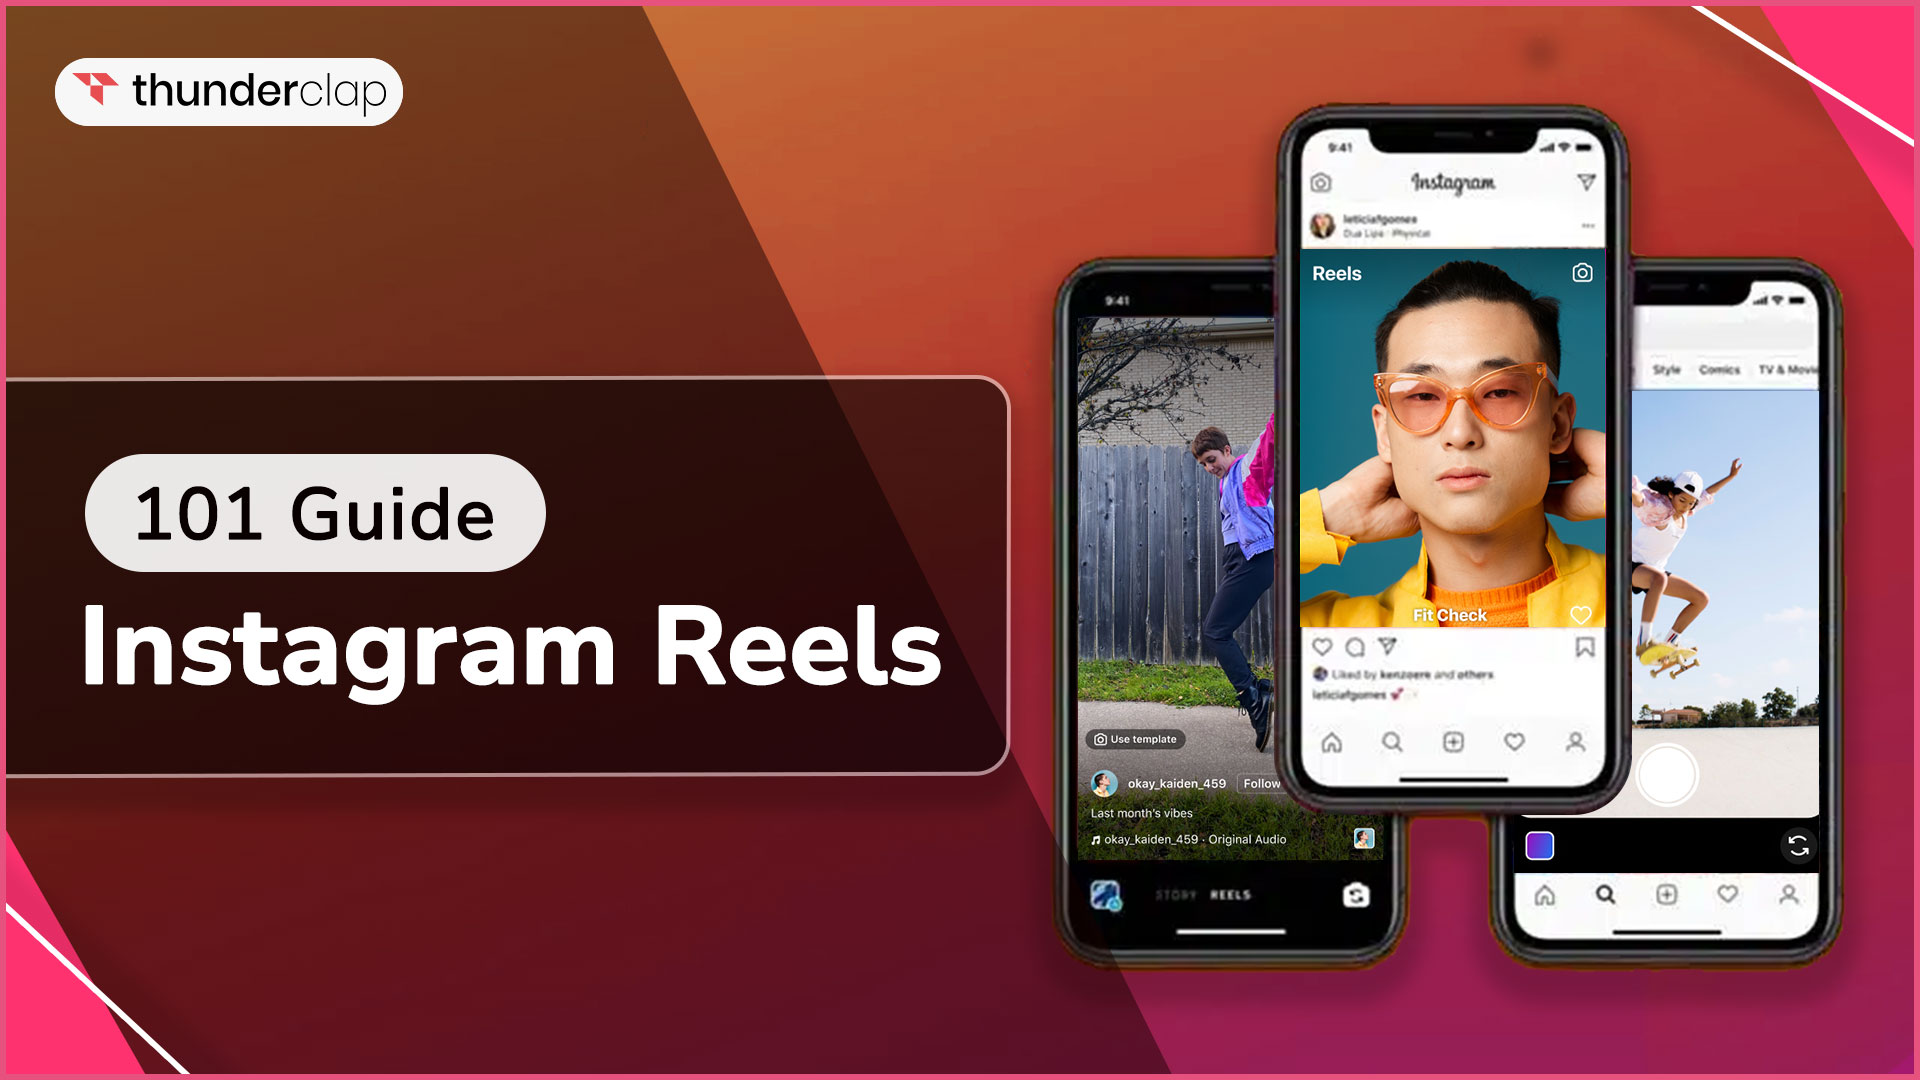
This 90-second video format is unquestionably the most prominent kind of Instagram post. Reels can be used for introducing new products, engaging audiences in conversation about a subject, following current trends, showcasing your product in use, and much more.
To post a reels, follow the below steps:
-
Step 1: Click the home page's plus symbol.
-
Step 2: Next, select the 'REEL' option from the available options.
-
Step 3: Choose any image or video from your gallery.
-
Step 5: You will see music, text, stickers, and filter options above the right corner. You can add these features to enhance your video or image.
-
Step 6: Then click on Next below in the right corner.
-
Step 7: You can write the caption, add location, tag people in your post, select your audience, etc., and then select the "Share" button.
4. Story
Instagram Stories are images and videos exclusively available for a single day. They have many features ideal for increasing interaction, like polls, stickers, and multiple-choice quizzes. Instagram Stories perfect for boosting engagement and ideal for sharing personal moments, and announcing new content.
To post a story, follow the below steps:
-
Step 1: Click the home page's plus symbol.
-
Step 2: Next, select the 'STORY' option from the available options.
-
Step 3: You can choose any image or video from your gallery in the bottom left corner or create a new image from the camera at the center.
-
Step 4: Text, stickers, filters, and music options are above the side. You can add these features to enhance your video or image.
-
Step 5: Then either select the "Your stories" or "Close Friends" option to post your story on the platform. In the close friends option, only your selected friends can watch the story.
5. Notes
A particular sort of short-text post is the Instagram Note. They show up in your chats list and let you send a 60-character text message to someone. Instagram Notes expire after 24 hours, just like Instagram Stories.
Instagram Notes can be used to initiate a discussion with your audience, solicit recommendations from your followers, or provide a brief update.
To add new notes, follow the below steps:
-
Step 1: Click in the top right of Feed.
-
Step 2: Click on your profile picture at the top, then select Leave a new note.
-
Step 3: Select ‘Share a Thought’ and type a message up to 60 characters long.
-
Step 4: Choose who will be the audience of your note.
6. Live on Instagram
To build reliability, Instagram has a feature to go on ‘live’ where you will be showing the real you without edits or filters. Streaming live on Instagram gives you access to answer real-time questions or conduct interviews with your followers.
To start Live, follow the below steps:
-
Step 1: Select Title from the menu on the left, type a title, and then select Add Title.
-
Step 2: Tap on the bottom part.
-
Step 3: Tapping the Comment button at the bottom of the screen will allow you to add a comment
Navigating The Features Of The Instagram App
Well, the world of Instagram is ever-evolving and the app offers a plethora of features to use. To enhance engagement, there are interaction methods and content formats that can be boosted with optimization.
Let's discuss how to use these Instagram’s features methodically to ensure everything is smooth on your Instagram journey:
-
Navigating the Interface of Instagram
The main menu bar of the Instagram screen is located at the bottom. Let's dive through the meanings and applications of each icon to understand the interface of Instagram:
-
Home: Pressing the "home" button will bring up your main feed. No matter where you are in the program, you can click the button on the far left.
-
Feed: On the feed page, you can see the post of accounts you follows or content you previously liked.
-
Heart icon: By clicking on the heart icon, you like the post and signal the algorithm to send you more such content.
-
Search Tab: By pressing this magnifying glass button, you may search accounts and trending Instagram hashtags.
In addition, you can browse content from accounts you do not follow that have been recommended to you based on what you currently like and what you have previously viewed in common.
-
Plus icon +: By clicking the "+" icon in the menu's centre, you can go live or make a new post, story, or reel.
-
Reels: The reel emblem is a clapperboard sign. Clicking it will direct you to the reels page, where you can view short videos.
-
Profile icon: Your profile photo should be displayed as a little circle on the far right icon. You may view your posts, follower details, and reels on your main profile page by clicking this button.
-
Find people to connect with
You can search for your friends and family to follow. Instagram also gives ‘connection suggestions’ so you can see if somebody falls in your area of interest and connect with them.
Instagram's search function lets you locate friends, brands, and celebrities. You may also do a "Tags" or "Places" search. If you know the kind of content you are looking for but are unsure of its creators, "Tags" might be pretty helpful.
Instagram will also suggest users follow accounts if they have connected their contacts or Facebook account with the social media network.
-
Start sharing content
Now that you wish to share, ensure you have planned your content, shoot and post only high-quality photos and videos, and maintain a schedule to stay consistent and engage your followers.
To post a picture or video, hit the + icon in the upper left corner of the screen or choose one from your camera roll.
After taking your picture, you may share it with your followers by adding a location, tagging other individuals, and adding a perfect Instagram caption. If you share engaging content that piques the interest of your target audience it will increase Instagram followers tremendously.
Conclusion
This guide is useful as whenever you are stuck on your journey on Instagram, just utilize this and use features, steps and tips to ensure that you are always ‘connecting better’ with your users.
Make Instagram a destination you look forward to visiting daily rather than viewing it as a duty to post and connect. Tailor your feed to your audience and create a community you want to visit.
