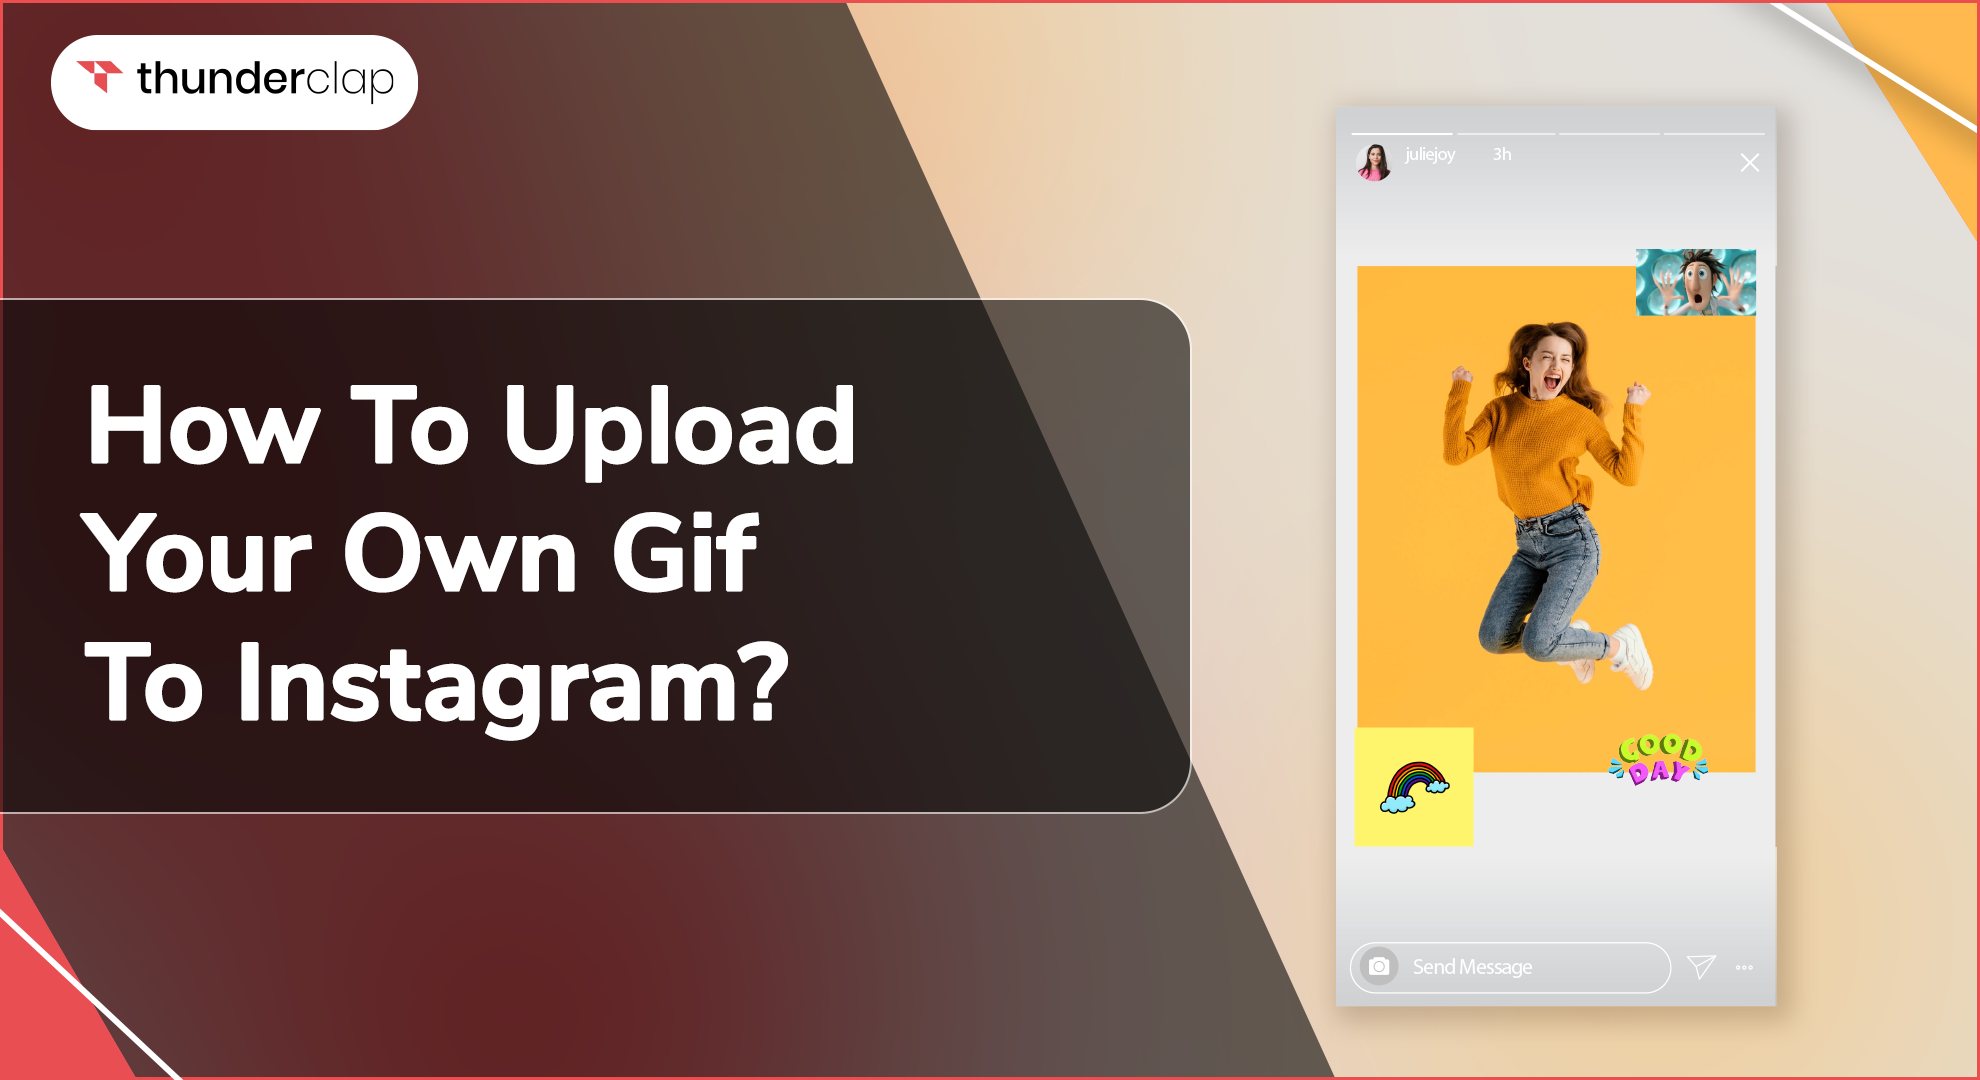
Do you know how to share GIFs on your stories of Instagram?
If Not, here is what you need to know!
GIFs have been the most interesting and popular way to share content via Instagram and other social platforms. Today, users around the world share GIFs 7 billion times per day to enhance and personalize their messages on messaging apps like Instagram.
However most users are unaware of the capability to upload their own GIF to Instagram stories. Let's learn the entire process of making GIFs from scratch and sharing them on Instagram stories, posts, and comments.
By following the steps specified below, you can create visually appealing moving images to promote your brand and captivate followers in just a few taps.
Let’s begin!
Can You Create And Add Your Own GIF to Instagram Story?
The short answer is yes! If you are wondering how to send gifs on Instagram, we are here to assist.
However, Instagram does not natively support GIF file formats. However, there are a few workarounds that allow users to share animated images on the platform using different methods.
Both the Instagram app and programs like Giphy make it simple to convert GIFs into compatible video formats that can be uploaded seamlessly.
Ways On How To Upload Your Own GIF On Instagram
Explore the different ways you can upload your own GIF to your Instagram story, from the camera up to Giphy integration. Create a visually appealing feed that showcases your personality or brand and helps you build a stronger relationship with your followers.
Take a look!
From Your Camera Roll
GIFs are a fun way to get engaged with the tagged followers and can certainly make the post more trendy and nostalgic. You can add GIFS through your Camera roll in different ways, and we have specified the same below. Check it out:
Uploading GIFs Using iPhone and Android:
Whether you are using an iPhone or any Android device, adding GIFs from your camera roll is possible by following the steps below. Take a look:
-
Step 1: Create your GIF using tools like Giphy.
-
Step 2: After this, you need to open the Instagram app and go to the story feature.
-
Step 3: Click the sticker option and choose 'Upload'
-
Step 4: Select the GIF from your gallery
-
Step 5: Add it to your story and customize it as desired
-
Step 6: Publish your story with your personal GIF
Uploading GIFs Using Desktop and Mac:
If you have a GIF saved on your desktop or Mac and are thinking about using it for any specific needs, then we have the steps mentioned below to post them on Instagram without any hassle.
-
Step 1: Create a GIF using online converters or editing software
-
Step 2: Save the file to your computer's gallery
-
Step 3: Open the Instagram app and start a new post
-
Step 4: Click 'Upload' and select the GIF file
-
Step 5: Include a caption and tag people if needed
-
Step 6: Post the image to your feed with your customized GIF
How To Add Your Own GIF on Instagram Story, Reels and Comments?
You may want to add some individuality to your stories or help the reel stand out or even engage your viewers through comments. Below, we'll walk you through the easy steps to add your own GIF to Instagram stories. Check it out.
1. Uploading Your Own GIF to Instagram Stories
Adding personal GIFs to your Instagram stories is seamless. Follow these steps:
-
Step 1: Open the story camera
-
Step 2: Click the sticker tool
-
Step 3: Select 'Upload' and choose your GIF file
-
Step 4: Resize and place it on your story
-
Step 5: Add other stickers, text or drawings
-
Step 6: Publish your story with your own GIF
2. Uploading Your Own GIF to Instagram Reels
Adding GIFs to Instagram reels was never so easy and hassle-free. If you are planning to do the same, then the below specified steps can make things easy for you:
-
Step 1: Start a new reel by clicking the camera button
-
Step 2: Select 'Upload' under stickers and pick your GIF file
-
Step 3: Trim and adjust the size as needed
-
Step 4: Record other reel elements or add more stickers
-
Step 5: Share your reel with your personal GIF
3. Uploading Your Own GIF to Instagram Comments
Including GIFs in Instagram comments has become easy and effortless. If you are thinking about how you can be a part of this fun engagement. Here are the steps:
-
Step 1: Find a post and tap to access the comments
-
Step 2: Click the smiley icon to activate stickers and GIF keyboards
-
Step 3: Search for your GIF and select it
-
Step 4: Post your comment with the attached animated image
How to post GIFs on Instagram without losing quality?
To seamlessly integrate GIFs into your Instagram posts, stories, and reels and engage your audience, just follow the steps below:
-
Step 1: Convert the GIF to MP4
When uploading large GIF files, convert them to MP4 format using different tools to prevent quality loss.
-
Step 2: Ensure a bitrate of 5-10 Mbps
The higher the bitrate, the better the video quality. 5-10 Mbps preserves most GIF details without becoming too large.
-
Step 3: Match the frame rate of the original GIF
The frame rate is frames per second. Matching this in conversion avoids choppiness.
-
Step 4: Avoid Multiple Conversions: Converting a file multiple times compresses it further. Directly convert GIFs without re-saving in between.
-
Step 5: Optimize the video for Instagram: Tools like Instagram Creator Studio can optimize videos for Instagram by resizing, cropping, and compressing as needed.
Final Thoughts
With the right know-how, creating and posting personal GIFs on Instagram is a powerful way to elevate your social media presence and connect with your audience.
By leveraging camera uploads, Giphy, or direct conversions, users can unleash their creativity and share custom animated visual content that captivates and engages their followers.
This blog provides a comprehensive guide, empowering gamers and content creators alike to harness the full potential of GIFs on Instagram and enhance their overall Instagram performance.


